After weeks of my makeshift laptop running Proxmox lying dormant, an idea hit me. Honestly, several ideas came to mind at once. I could run the dev branch of my xUtility app on it, use it as a test environment or maybe, spin up another vSRX router for a more complex OSPF topology. Okay, back to the idea.
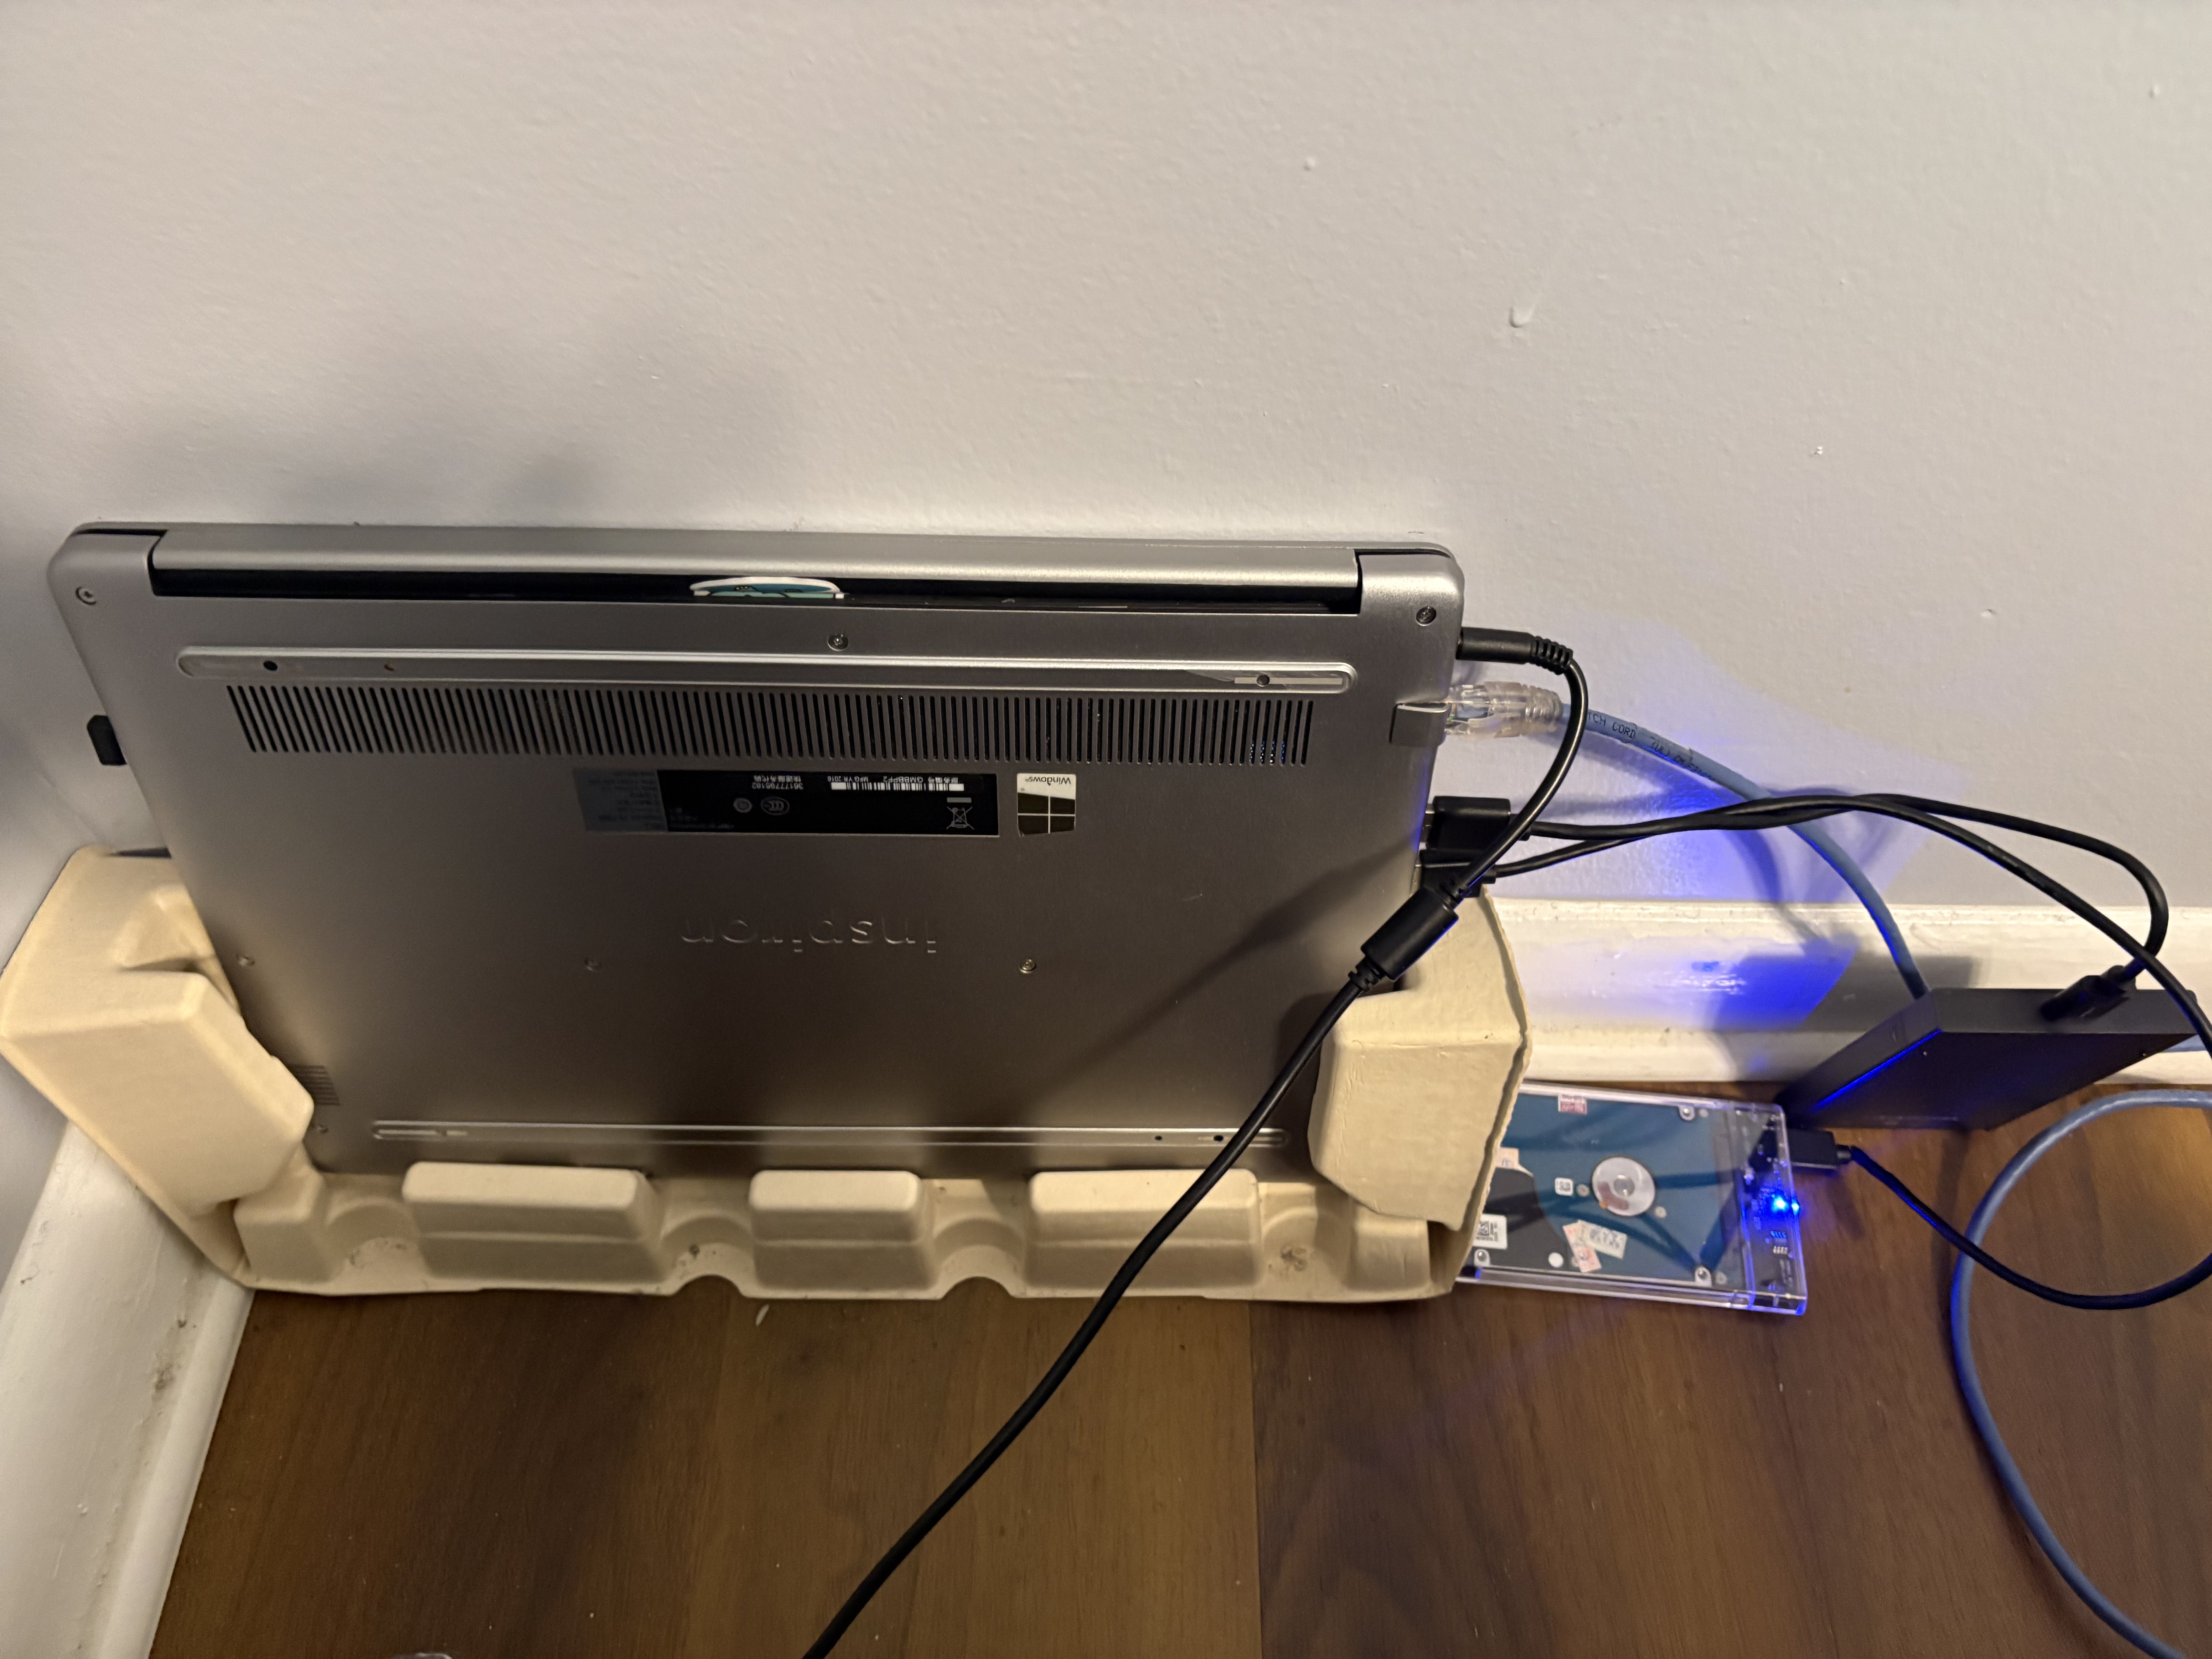
I had two external hard drives lying around. One was harvested from an old Samsung laptop I purchased from a friend a few years back. As an aside, the screen panel from that same laptop was repurposed into an external monitor, which I currently use as a vertical display in my setup. The other drive came from my old daily driver, a Dell Inspiron, which is the very machine Proxmox now runs on. The Dell was always on anyway, so it made sense to put it to work.
The idea was simple: have a place to archive files and folders I don’t want taking up space on my daily driver, while still being accessible from anywhere. Graduating soon means there are a lot of project files, documents, and configs that I want to keep but don’t necessarily need on my main machine every day.
That’s the problem. Here’s how I solved it.
The Stack
Before jumping into steps, here’s what I ended up using and why:
- OpenMediaVault (OMV) as the NAS OS; lightweight, has a clean web UI, runs well as a Proxmox VM, and is built exactly for this kind of use case. I initially thought about TrueNAS but that’s built around ZFS and really shines with internal drives and redundancy setups. For two external USB drives and one person (of course for now), OMV is the right tool.
- Samba (SMB/CIFS) for file sharing; so my ThinkPad can access the NAS like a regular network drive.
- Tailscale for remote access; I already use this to access my Proxmox host, so extending it to OMV was a natural fit. Zero port forwarding, zero headaches.
- rsync + systemd timer for automated backups from my ThinkPad to the NAS
Phase 1: USB Passthrough to the VM
The first challenge with running a NAS on a VM is getting the physical drives into the VM. Proxmox handles this cleanly through USB passthrough.
I plugged both drives into the Dell (Proxmox host) and identified them:
lsusbBoth showed up as JMicron controllers on USB 3.0; good, that means faster transfer speeds. From the Proxmox web UI, I added both drives to the OMV VM using their Vendor/Device IDs rather than port numbers. Vendor/Device ID is the more stable option, it survives reboots regardless of which physical port the drive ends up in.
One thing worth noting: the VM was created with q35 machine type instead of the default i440fx. This gives better USB hardware compatibility, which matters here since the whole point is to pass USB devices through.
Phase 2: Installing OMV
OMV installs like a standard Debian system. Nothing exotic. The one thing to pay attention to during installation is the disk selection screen. At that point, the VM can see the virtual OS disk and both external drives. You want to install OMV onto the virtual disk only. Installing onto an external drive would wipe it and defeat the entire purpose.
After installation, I installed the QEMU guest agent so Proxmox could properly communicate with the VM:
apt install qemu-guest-agent -y
systemctl enable --now qemu-guest-agent
You might see a warning about the unit file having no Install section. That’s normal on Debian, the agent starts automatically via udev. Nothing to worry about.
Phase 3: Tailscale on OMV
Since Tailscale was already running on my Proxmox host, I just needed to install it inside the OMV VM so it would get its own Tailscale IP. From the OMV console:
curl -fsSL https://tailscale.com/install.sh | sh
tailscale up
Authenticate, done. OMV now has its own IP in my Tailscale network and I can reach the web UI from my ThinkPad regardless of where either machine is.
Phase 4: Configuring OMV
This is where OMV’s web UI earns its keep. Everything from here is point-and-click.
Mounting the drives: Storage → File Systems → Mount. Both drives showed up as NTFS. That’s what they were formatted as from previous use. OMV handles NTFS fine.
One gotcha here: when you create a shared folder in OMV, it defaults to creating a subdirectory on the drive with the same name as the share. So if you call your share archive, OMV points to archive/ inside the drive, not the root. If you have existing files on the drive, they’ll be invisible. Fix this by setting the relative path to / in the shared folder settings.
Enabling SMB: Services → SMB/CIFS → enable, add shares, set to private. Created a user account to authenticate with from the ThinkPad.
Phase 5: Mounting on the ThinkPad
On my daily drive (I use fedora KDE Plasma btw), mounting SMB shares needs cifs-utils.
sudo dnf install cifs-utils -yCreated mount points, a credentials file (chmod 600 - don’t skip this), and added both shares to /etc/fstab with the _netdev flag. That flag tells Fedora to wait for the network before attempting the mount, which is essential since the connection goes over Tailscale:
//<omv-tailscale-ip>/archive /mnt/nas/archive cifs credentials=/home/elikyals/.smbcredentials,uid=1000,gid=1000,iocharset=utf8,_netdev 0 0After a mount -a and systemctl daemon-reload, both shares mounted cleanly and showed the correct sizes and existing files.
Phase 6: Automated Backups
This took the most iteration. The goal was to back up my ThinkPad’s home directory to the NAS automatically, excluding things that don’t need to be there: caches, reinstallable packages, Flatpak data, browser data, and so on.
The backup script uses rsync:
rsync -avz --progress --copy-links \
  --exclude='.cache' \
  --exclude='.var' \
  --exclude='.ansible' \
  --exclude='.virtualenvs' \
  # ... more excludes
  "$SOURCE" "$DESTINATION" >> "$LOG" 2>&1
--copy-links was necessary because the destination is NTFS, which doesn’t support Linux symlinks. Without it, rsync throws errors for every symlink it encounters.
The exclude list ended up being longer than expected. The first run transferred about 39GB and included a lot of junk. Brave Browser’s Flatpak data alone accounted for 60,000+ files. Cleaning that up and refining the excludes took a few passes, but the result is a lean backup of what actually matters: documents, configs, SSH keys, dotfiles, Obsidian vaults, Zotero, Ansible configs, Terraform configs and project files.
Logs go to /var/log/nas-backup/nas-backup.log with logrotate keeping the last 10 runs compressed and dated.
The backup runs on a systemd timer - weekly, with Persistent=true so it catches up on the next boot if the ThinkPad was off at the scheduled time:
sudo systemctl enable --now nas-backup.timerWhat I Ended Up With
Two external drives plugged into my always-on Proxmox server, presenting as network shares accessible from my ThinkPad whether I’m at home or on campus. Weekly automated backups of everything that matters. A clean archive drive for files I want to keep but don’t need locally.
The whole setup cost nothing beyond hardware I already had. And it’s the kind of thing that looks simple when it’s running but involves enough moving parts; USB passthrough, VM networking, Tailscale, SMB, fstab, rsync, systemd, that getting it right teaches you something at every step.
The full step-by-step runbook with all commands and configs is on GitHub. If you’re setting up something similar, that’s where the details live.
Part of the HomeLab Diaries series - documenting what I build on my Proxmox homelab.